Using Google App Script to Inventory Video
For the El Grito de Sunset Park project we used the following script to create an inventory spreadsheet of videos we’d stored in a Google Drive.
The Google app script below lists all Google Drive links of files, folders and sub folders and writes to a Google Sheet. (Credit: Krishna, Tech Ink)
You’ll need to have a Google Account to create a video inventory this way. If you don’t have a Google Docs account, you can create one here: Create a Google Docs Account. It’s free.
Step 1
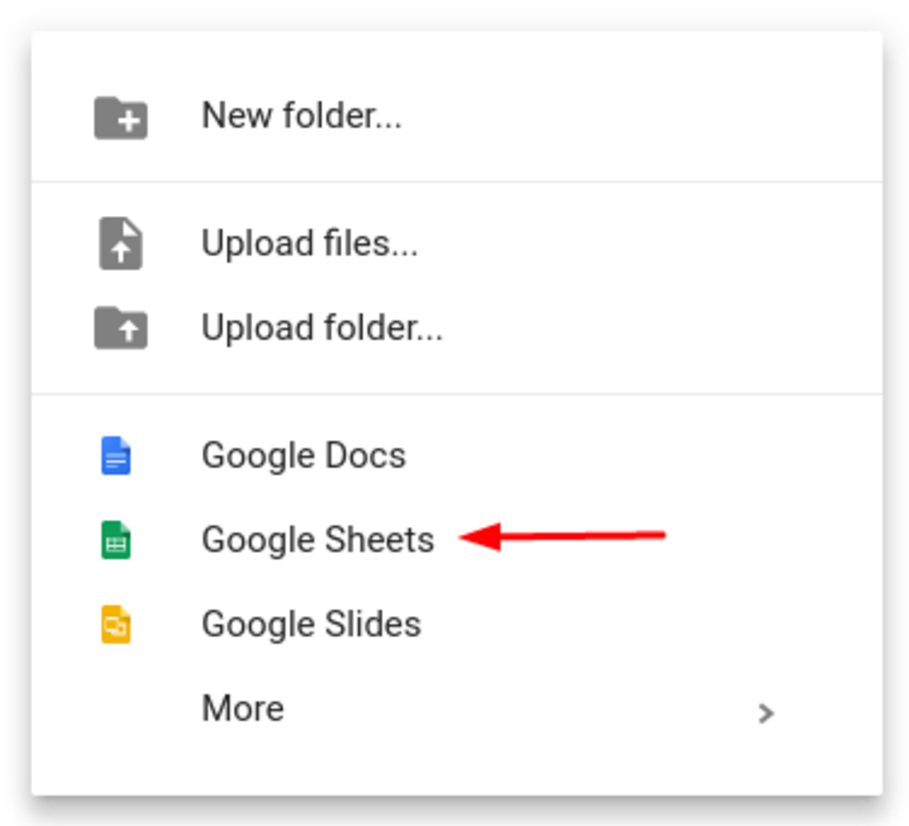
Create a new Google sheet file on your Google drive.
Step 2
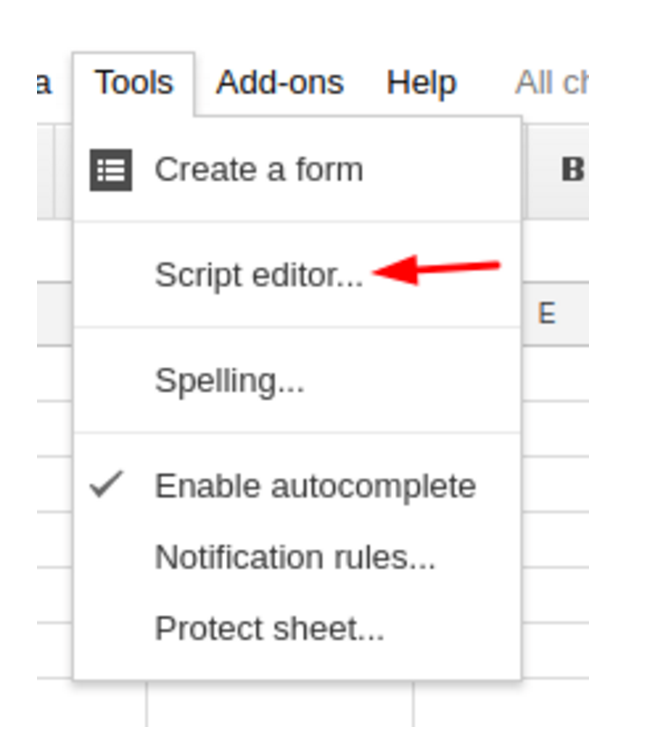
After you’ve created a new Sheet, navigate to the Script Editor under Tools on the navbar. Tools -> Script Editor
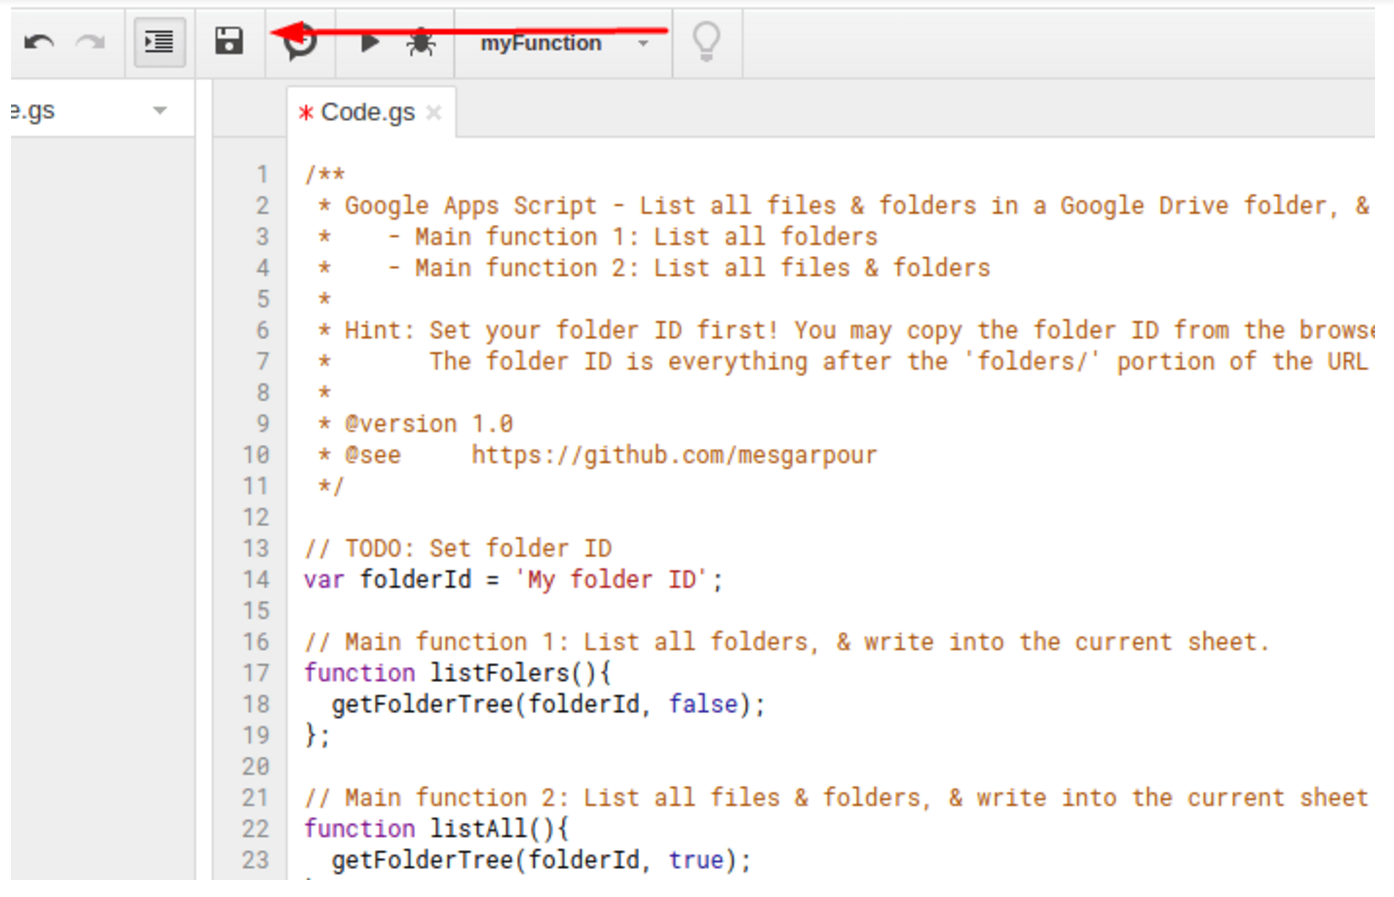
Delete the default function (all the text) and replace it with the script linked here. Paste the text from this file, then save it. To “save”, use the icon that looks like a floppy disk. If you know what that is…was…it makes sense. If not, this is what it looks like:
Step 3
After you’ve saved the new function replace the text reading ‘My folder ID’ with the folderID where your Google Sheet is saved.
For example – if your google drive folder is
https://drive.google.com/drive/u/0/folders/0Bz9C0ysJZ7PnMGZerwcybUpXWGM
The folder ID is the string of numbers and letters following /folders/. In the link above, that would be:
0Bz9C0ysJZ7PnMGZerwcybUpXWGM

Step 4
After you’ve set your folder ID, select “save” again. After you’ve saved the file, click on myFunction and select listAll.
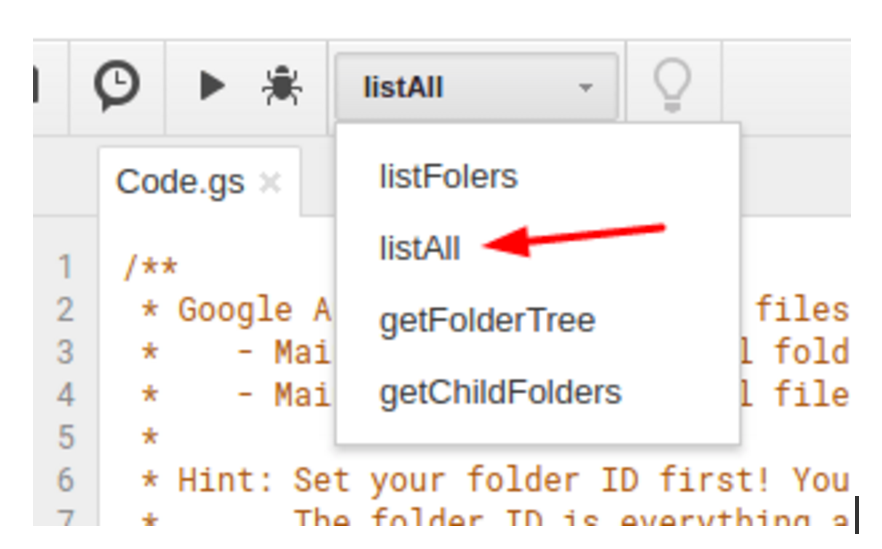
After selecting “listAll”, click the Run button (play icon) to start the script.
Step 5
The script will then ask for permission to access your Google Drive.
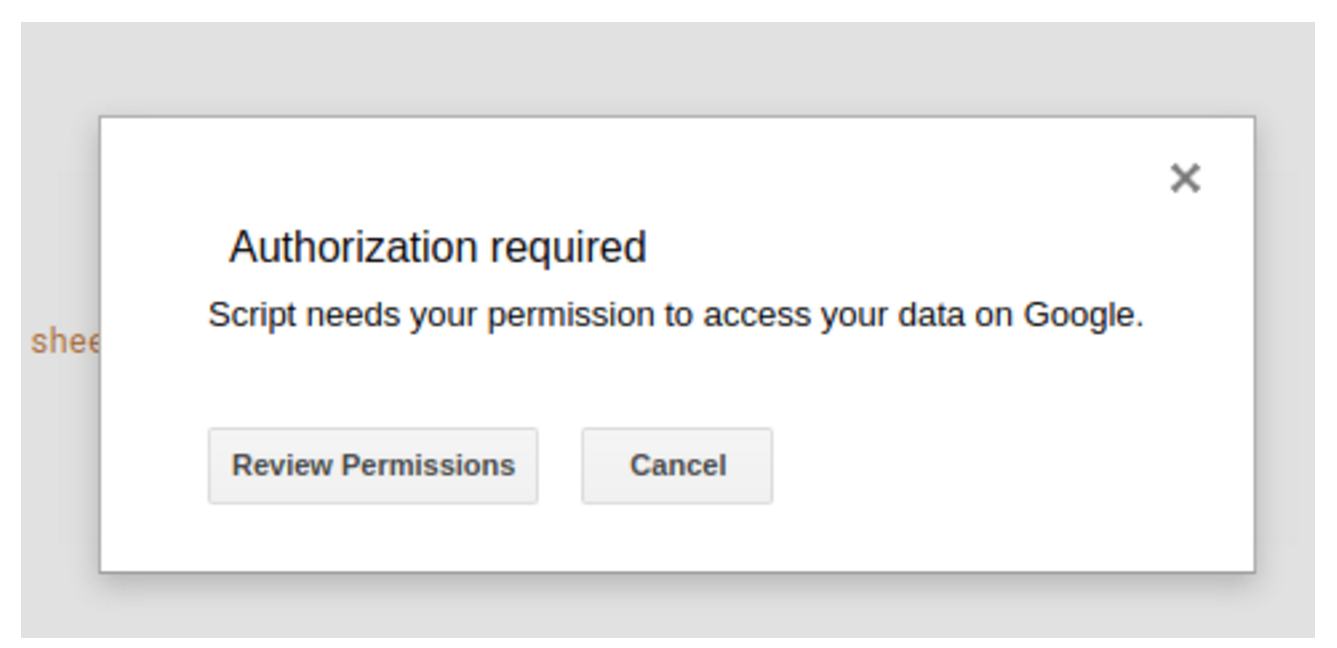
Click on “Review Permissions” >Allow
Step 6
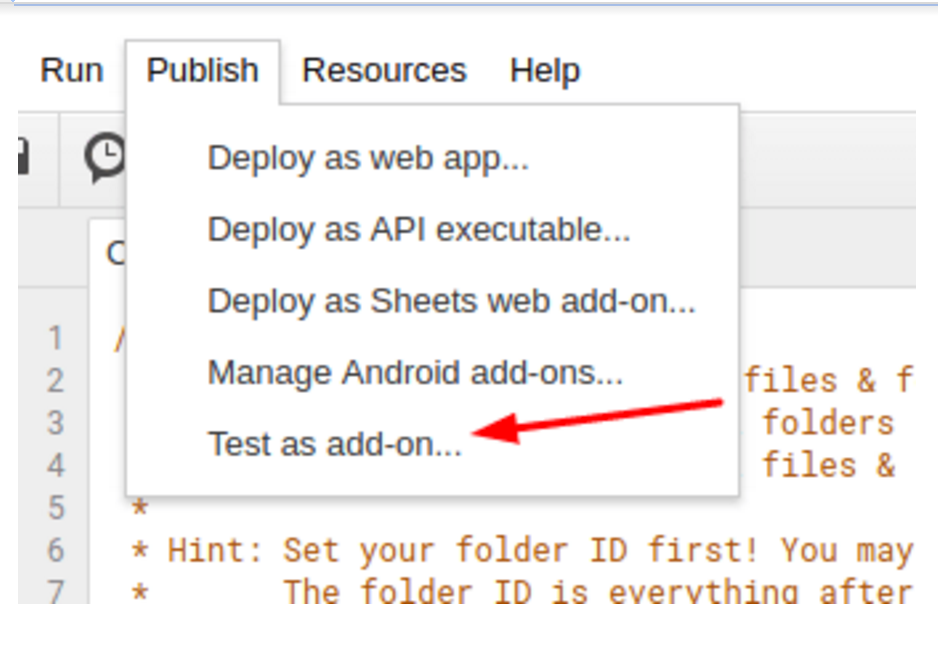
After you’ve finished authorizing, select Publish from the navbar > Test as add-on. This will allow the function to run on your spreadsheet.
Step 7
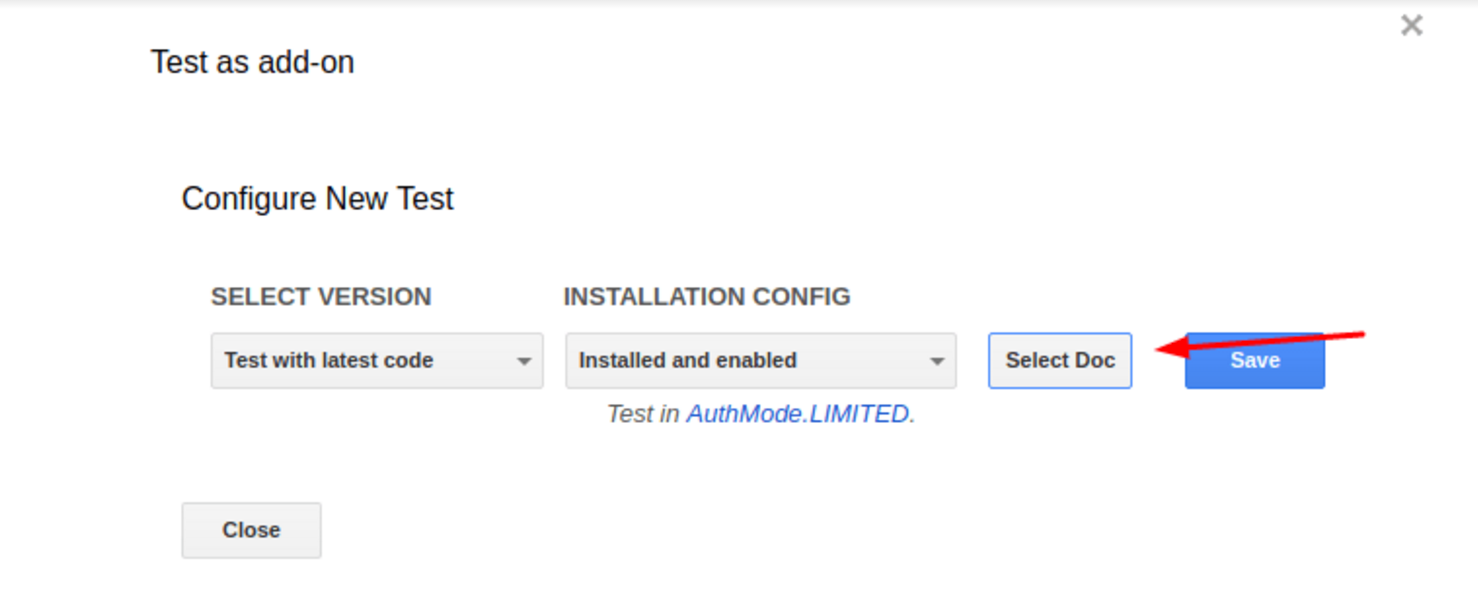
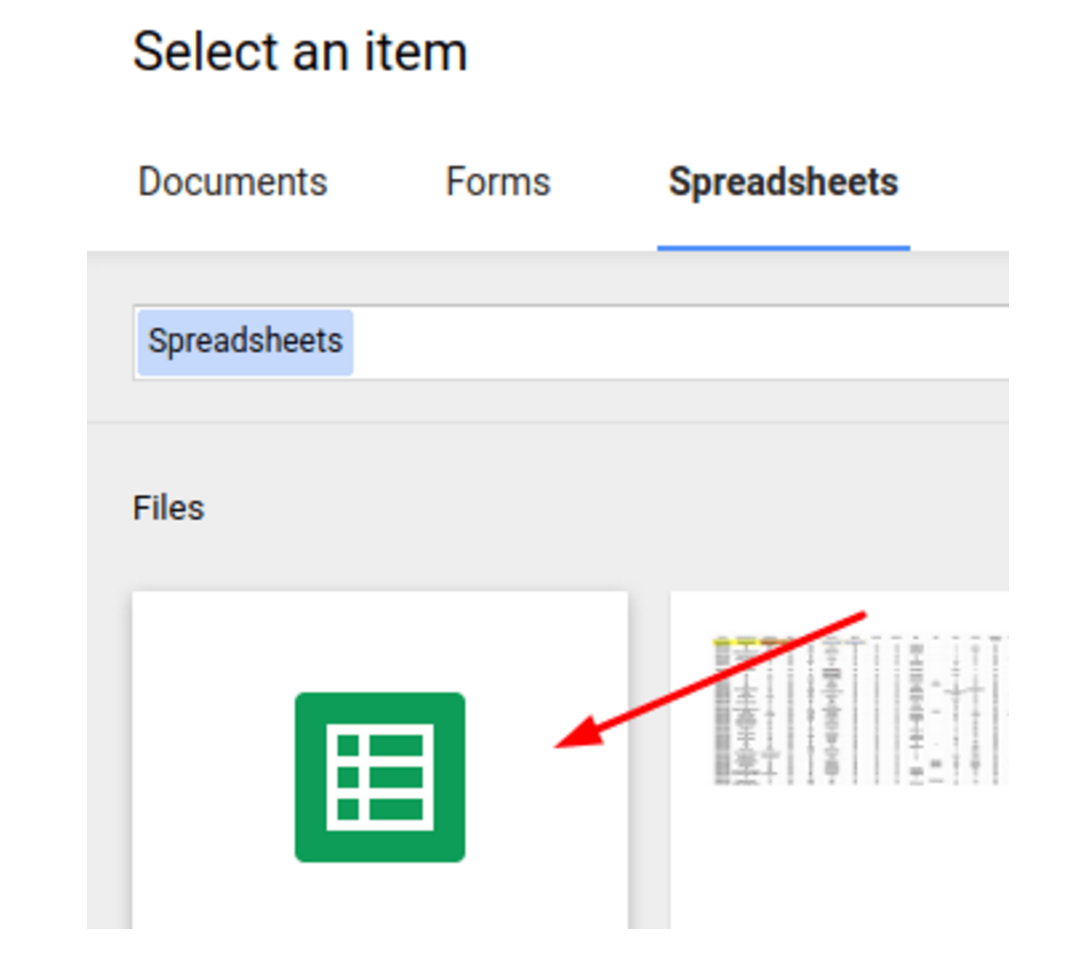
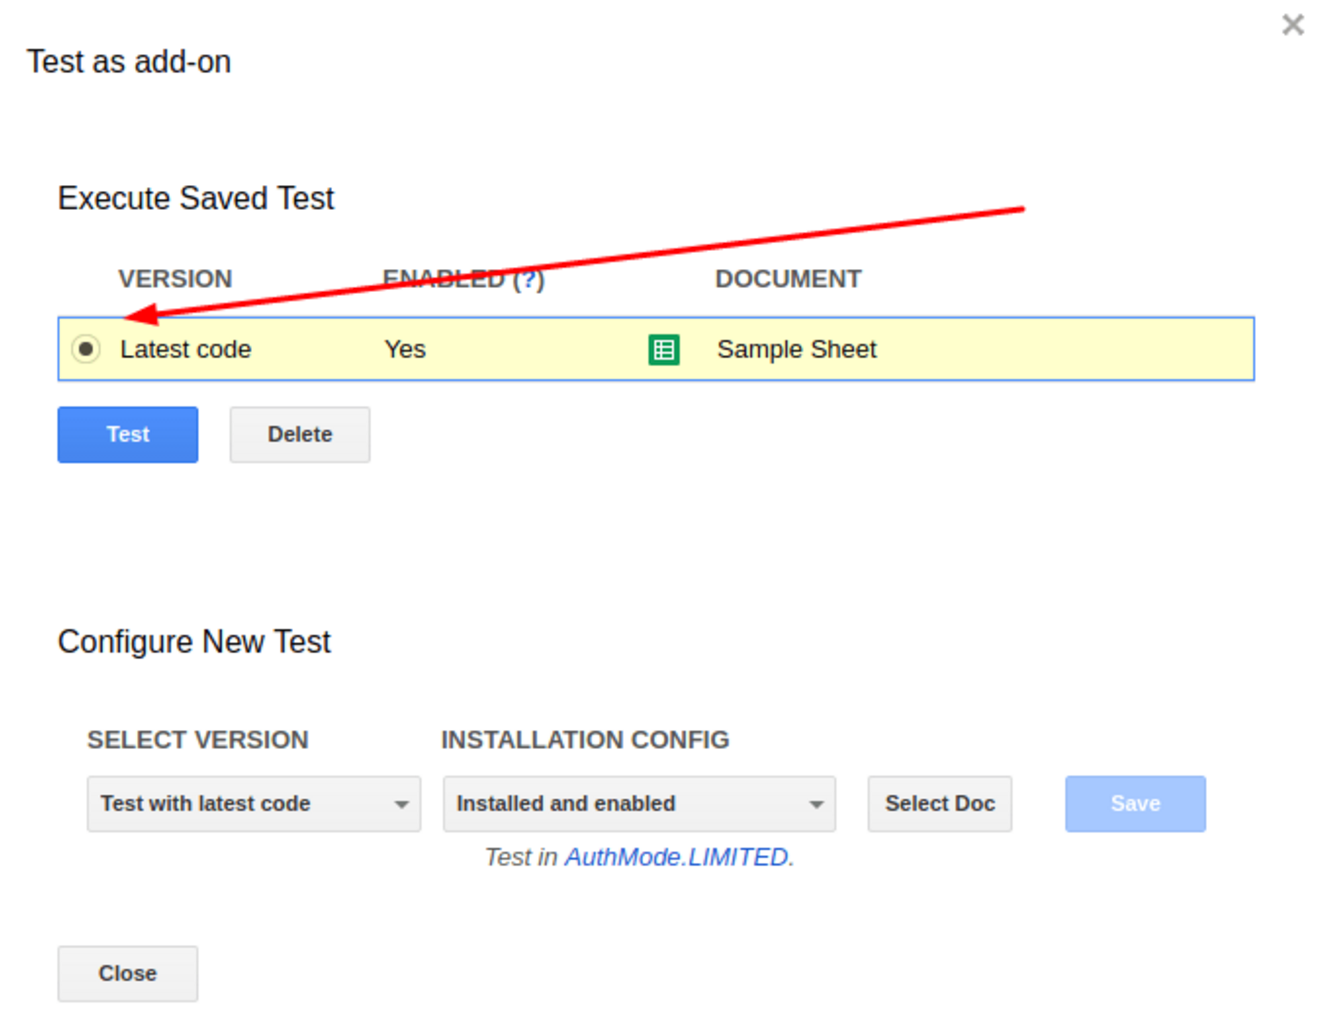
When you select “Test as add-on…”, you be prompted to configure a new test. When you see this, click on “Select Doc” and pick your spreadsheet — the one you created way back in Step 1.
Save the test add-on. In the execute saved test, select the radio button displaying your spreadsheet, then and click test.
Step 8
In the execute saved test, select the radio button displaying your spreadsheet, then and click test.
Step 9
Finally, select “Script editor” from Tools -> Script editor and select the run button. The script will populate your spreadsheet with a list of all the folders and files in the drive you’ve selected. The list will include the full path to each file, including a direct URL to each asset and directory. You can export the data to CSV, XLS or any format supported by Google Sheets.
NOTE: ADJUSTING THE SCRIPT
You can adjust the script if you want it to collect additional details like the “Owner” of the files that you are inventorying. This script uses Google Apps Script’s Drive and Spreadsheet services to access Google Drive and populate the spreadsheet. Check Google’s Drive Service and the Spreadsheet Service reference guides to see the full range of endpoints/methods and parameters that are available.
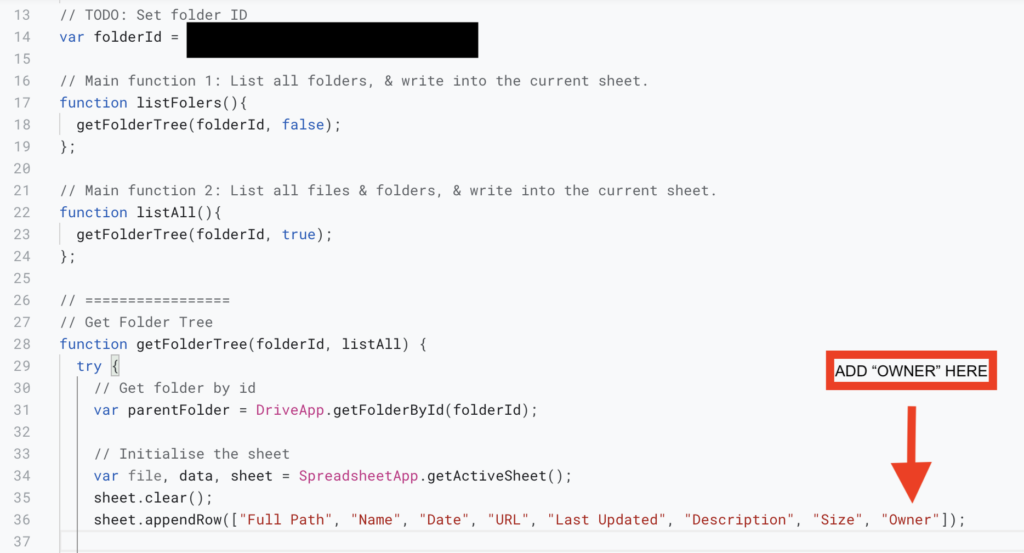
EXAMPLE: To add the “Owner”, you will need to modify the script in two places. First, add a column with the label “Owner” to the spreadsheet by adding the word “Owner” to the list of values that will be passed to the method that is creating the spreadsheet rows and columns (on line 36).
Next, to get the owner names from Google Drive to add to the spreadsheet, add a request by first putting a “,” after “childFile.getSize()” on line #78.
Now hit enter and then add the line “childFile.getOwner().getName()” to line #79. Hit enter again.
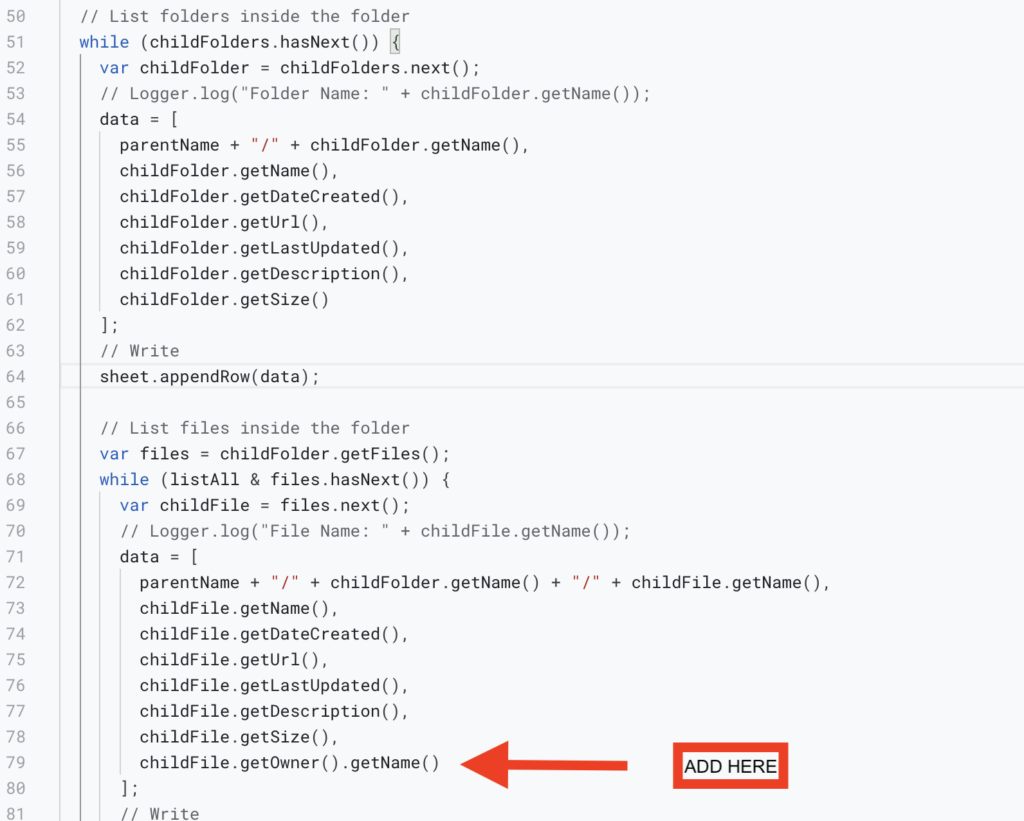
Now you can save your edited script and hit “Run”.