Project Overview : Define : Plan : GATHER : Preserve : Metadata : Storytell : Share : Recommendations
WHAT IS THIS?
This page provides instructions on how to join multiple video files together into a single continuous video using two simple methods that do not require costly video editing software:
This page also provides instructions on how to transcode (i.e. change the encoding format) of a video file, using a free open-source tool called Handbrake.
WHY DO THIS?
While it is ideal to preserve the original files that come from your camera, or to preserve the full-quality output from a tape digitization, you may sometimes need more accessible files for use in a project.
For example, when digitizing the miniDV tapes in the El Grito collection, we ended up with multiple files for each tape because of timecode breaks on the tape. Also, because DV25 is an older prosumer format, it creates relatively large files compared to web streaming formats like H.264 (~12 GB/hour of video).
To make these files easier to access, we stitched them back together into a single file, and transcoded them into a lower-quality web-streaming format for Google Drive.
This method involves dragging and dropping files in a user-friendly interface, so it is an easy option that does not require familiarity with more complicated video editors or command-line tools.
Note: Quicktime X is a Mac app, so this method requires using a Mac computer. For PCs, Apple no longer supports Quicktime for Windows, and some have recommended uninstalling it for security reasons.
SIMPLE VIDEO PLAYER / EDITOR
![]()
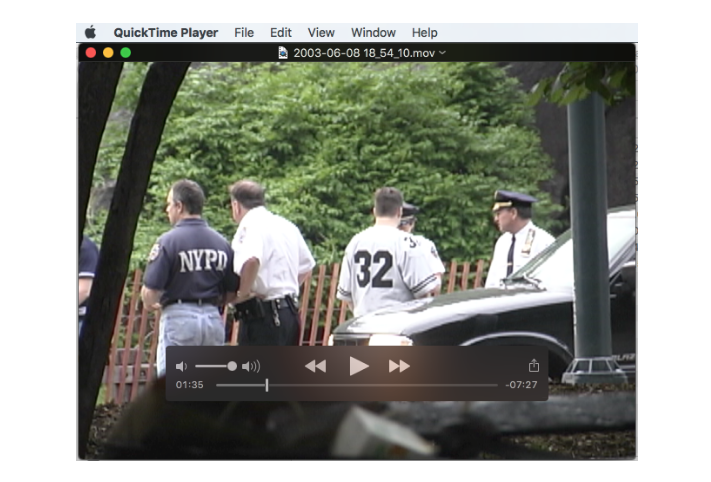
Quicktime X comes built-in with your Mac, and is a simple tool for playing, recording, and editing video.
1
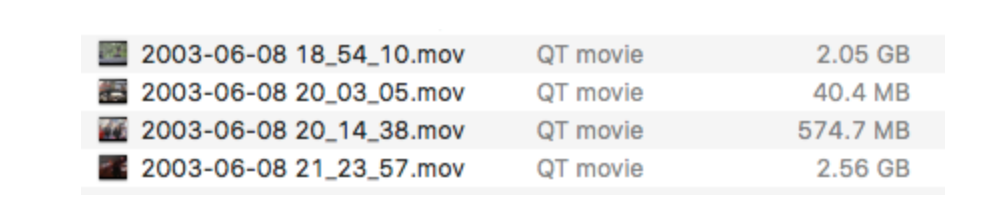
Select video files to stitch
Identify the video files you want to stitch together and then open the first video file in QuickTime X.
2
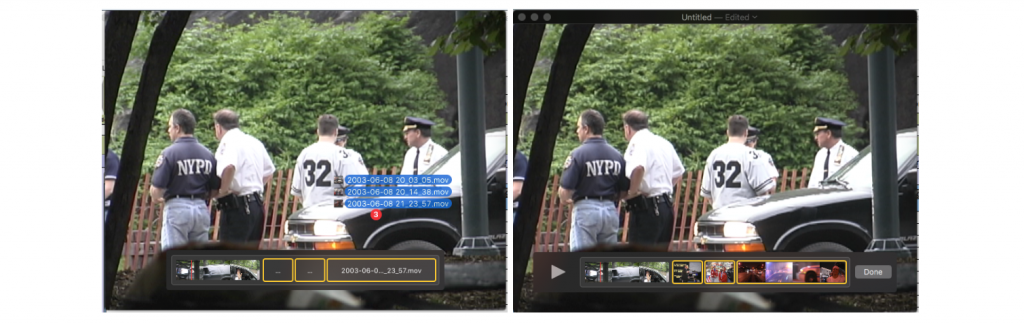
Drag and drop videos into Quicktime X
Then drag the rest of the files you want to stitch together on top of the Quicktime player window. You will see a timeline with small thumbnails appear in the bottom of the player. Press “Done” in the timeline.
(NB: To create an access copy that preserves the integrity of the original recording and the accuracy of the events depicted, stitch the files together in their original chronological order. If your access copy represents an incomplete or re-ordered version of the original, be sure to make that clear in the filename and/or contextual descriptions.)
3
Export the new video
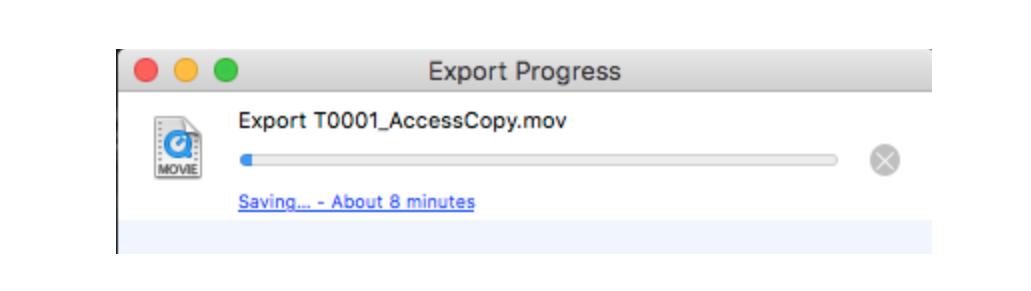
In QuickTime X, select File > Export…. And name the file using the unique identifier and something indicating it is the access copy, e.g. T0001_AccessCopy.mov. The export will take a while depending on the size of the video. You’ll see a progress bar.
Ultimately, QuickTime X will export a single video file that stitches together all your selected files. Note that QuickTime X re-encodes the resulting video to H.264 (from the original DV encoding, in the case of the El Grito digitized tapes. This means the video is more highly compressed and lower quality than the original DV, but smaller file size and good for viewing and sharing online).

This alternate method involves using the command-line interface (i.e. Terminal), so it can be intimidating for those who are not used to working in the command-line. But it can be useful if you have lots of videos to make and lots of files to stitch together.
POWERFUL VIDEO TOOLS
![]()
FFMPEG is a widely-used free and open-source suite of libraries and tools for processing videos in all kinds of ways.
1
Create list of files to stitch
In Text Edit (or any other plain text editor on your computer) create a list of files that you want to stitch together, in the order you want them concatenated in. The list of files must follow this format:
file '/path/to/file1'
file '/path/to/file2'
file '/path/to/file3'
(In other words, each line starts with the word “file,” followed by a space, followed by the filepath to the file you want stitched in single quote marks, then a new line.)
Make sure to save your list as a .txt document.
You can type out this list manually (i.e. by typing “file” and dragging each file path into TextEdit), or you can use the following commands:
cd /directory/where/your/files/are
printf "file '%s'n" ./*.mov > mylist.txt
Reference:
-
“cd” means “change my working directory.”
-
“printf” means “print format string” according to the template that follows.
-
“%s” is the placeholder for the string
-
“n” means “new line”
-
“./*.mov” is the string, and refers to “every .mov file in my working directory”.
-
“>” means output to a file, in this case “mylist.txt”.
2
Run FFMPEG on your list of files
Use your list and the following FFMPEG command to make the stitched video:
ffmpeg -f concat -safe 0 -i mylist.txt -c copy /my/output_file.mov
Press “Enter” and your video will start processing.
(Check out the website ffmprovisr for other useful FFMPEG recipes.)
Reference:
-
“Ffmpeg” starts the ffmpeg command
-
“-f concat” calls ffmpeg’s “concat demuxer” to work.
-
“-safe 0” is only required if using absolute filepaths, not required if using relative filepaths.
-
“-i mylist.txt” is your input, i.e. the list you created in the step above. substitute the actual filename of your list here.
-
“-c copy” means just copy the codec, don’t re-encode.
-
“/my/output_file.mov” is the file to be output. substitute with whatever your output path, filename, and extension should be.
If following the QuickTime X workflow above, the exporter actually re-encodes your video to H.264 as part of the stitching process, so you may not need to transcode or compress your video any further.
These instructions cover how to transcode or compress a video (e.g. for sharing online, or to make smaller files for low-bandwidth contexts) apart from Quicktime X, using an open-source tool called Handbrake.
VIDEO ENCODER
![]()
Handbrake is a simple, free, open-source video encoder.
1
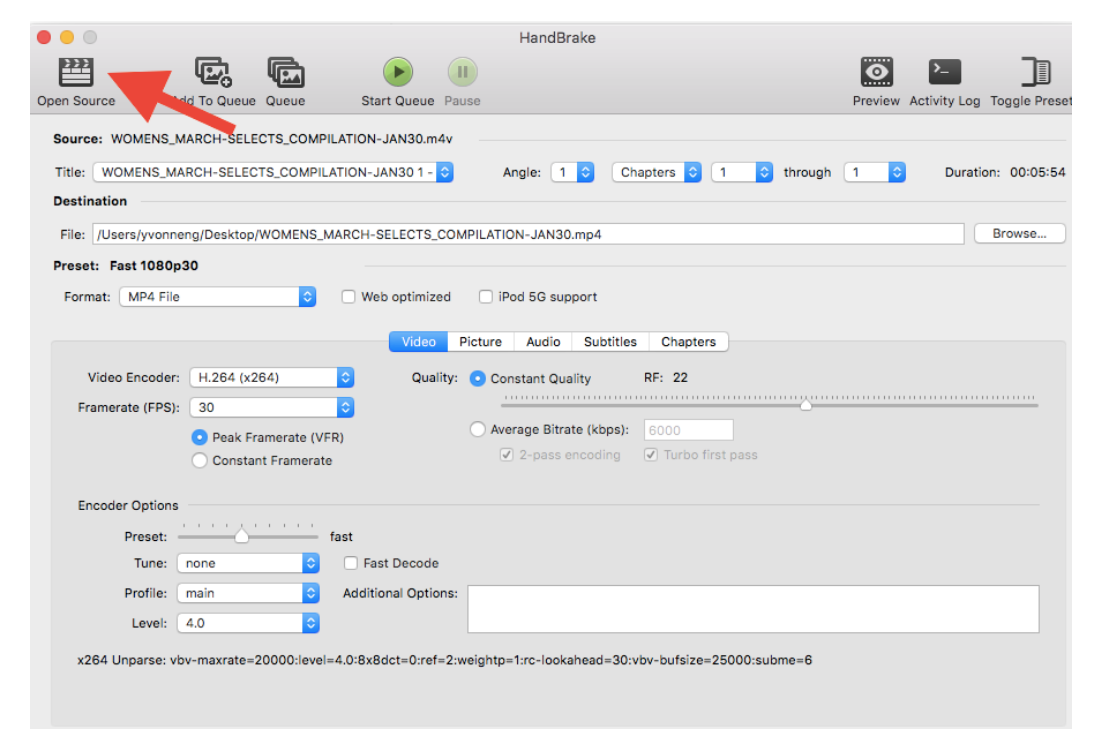
Select file to transcode or compress
In Handbrake, click on the “Open Source” button on the top left corner of the Handbrake interface and select the video you want to compress.
2
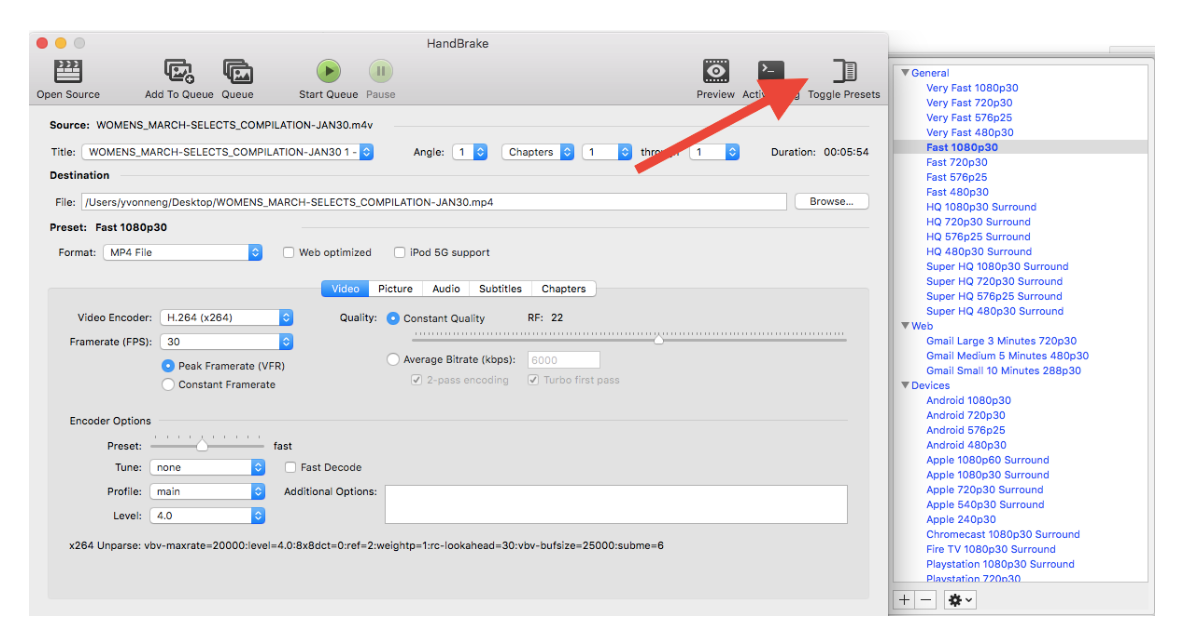
Select encoding options
You can manually select encoding options, but you can also select from presets. Click on the Toggle Presets button on the top right corner to reveal available presets.
3
Start encoding
When you’re ready to start encoding, click on the Start Queue button.
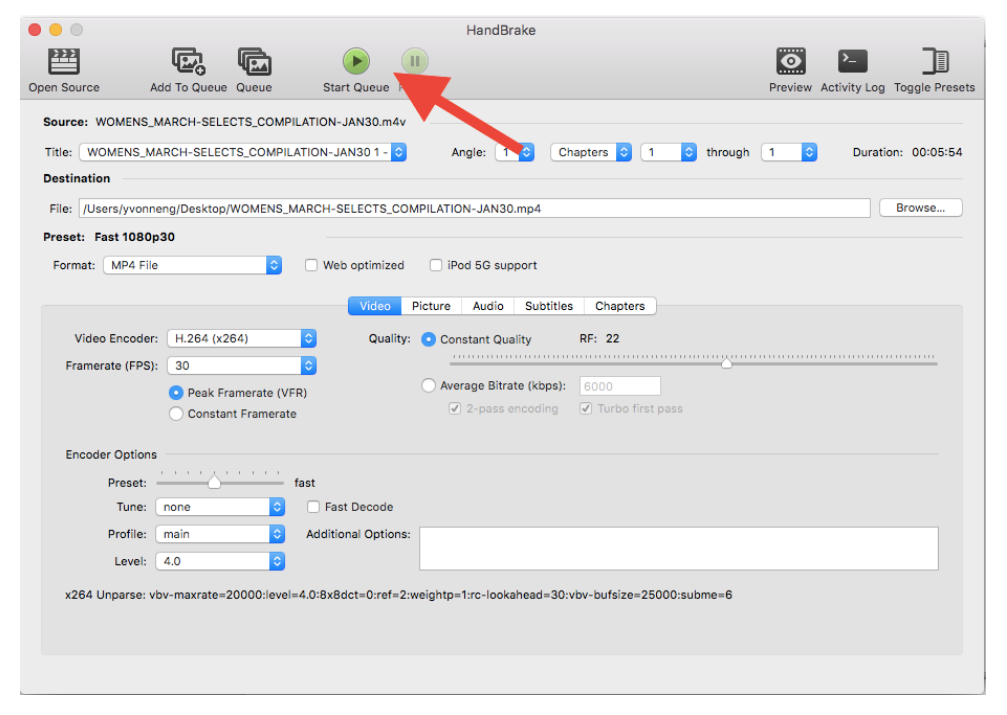
You can monitor the progress of your job in the progress bar at the bottom of the interface.
